I’ve been inspired lately by raytracing and what you can use it for in an Revit/Dynamo environment. The inspiration came from Twitter and the wonderful expertise the people I follow possess. It started with Dieter Vermeulens tweet and blogpost here. From there I tested a quick example by using some of the same logic in a topography environment in Revit, ended up looking like this:
(Just to let you know, the raytracing functionality in revit can’t do topos, but it can use family instances generated with spring nodes. Hint hint..)
Dieter confided to rooms and I thought why not go outside that window and into the cityscape? In a preliminary design phase it would be nice to have some sort of analysis of what you actually see from the 73th floor balcony in your building wouldn’t it?
So how do we get about this then? Well, the guys behind the acoustamo package have pointed out that the raytracing in Revit is a bottleneck. But I think it has worked pretty well so far. Another simplification I’ve made is that I have enclosed the entire test area with a circular wall that I’ve hidden in all but one view
to complete the isovist inside those walls. Could have been handled by importing all the geometry to Dynamo and creating some sort of enclosing geometry there, but I think it will suffice for all intents and purposes.
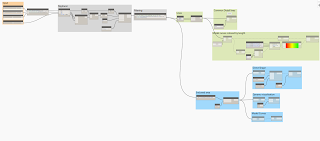
Overview:
Raytracing and filtering:


Leave a Comment
You must be logged in to post a comment.