Introduction
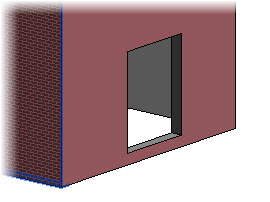
In the last tutorial we looked at how to create Walls in Revit Architecture. In this tutorial we look at how to make basic openings in them, using the Wall Opening tool.
Unit Agenda
- How to create a Wall Opening
- Adjusting the Properties of your Wall Openings
- When is it appropriate to use this tool?
[youtube https://www.youtube.com/watch?v=ykHpIZWHQrs?feature=oembed&w=720&h=405]
How to create a Wall Opening
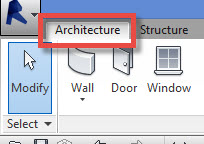
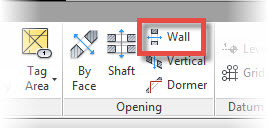
To find the “Wall Opening” tool, switch to the Architecture menu. Once you have done so, you will find a Panel called “Openings”…..
This Panel contains tools for creating Openings in various elements. You need to select the one called “Wall” (see the image above).
At this point I will say that you ca use this tool in a variety of View Types- i.e. Plan views, Elevations, 3D views, etc. For this tutorial, I am going to create the Wall Opening in a Plan View. So with the “Wall Opening” tool now selected I can go ahead and make 2 separate click on an element of Wall…


