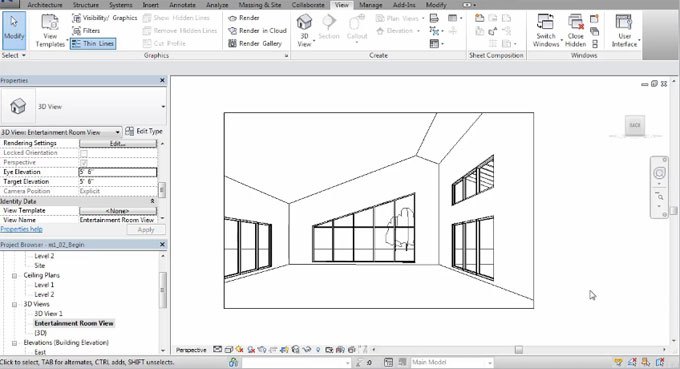
In this Revit video tutorial, Pierre Derenoncourt, a renowned AEC design technology specialist and environmental designer, briefly explains how to apply a 3D camera inside Revit to generate an interior view within a model.
In Revit Architecture, a camera can be placed once it is activated from your ribbon, View tab, Create panel. Click the small arrow adjacent to the 3D view, and click camera button on the drop down menu. Now the camera can be set with two simple clicks with camera position and target position.
As soon as the camera is set, Revit will open a new view automatically. This view will be appeared as what your camera see. Generally, we should have modified the view. Ensure modify is active and select the view boundary. Some blue grips on the rectangle sides will be visible. By dragging the grip, the boundary can be resized.
You can modify the movement of your camera around by holding [shift] + mid button.
To get more information, go through the following Revit Tutorial.
 Read more

