In this Autodesk Revit tutorial I am going to show you different methods available to you for moving elements within your model. You may wish to watch the video version of this tutorial first…..
[youtube https://www.youtube.com/watch?v=jUf4KLq1wD8?feature=oembed&w=720&h=405]
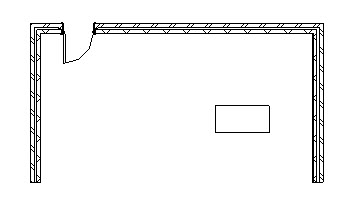
In order to demonstrate the differing methods of moving elements, I am going to use a very simple model- 3 walls, a door and a desk….
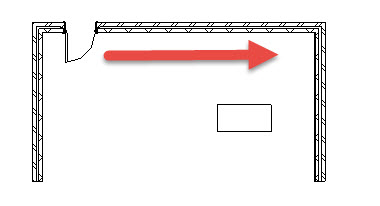
First of all let’s just move the door along the wall to the right….
The first method I am going to show is quite simply to “drag and drop”. Hover over the door with your cursor, click and hold the left mouse button and (whilst continuing to hold you mouse button down) move your cursor along the wall. The door will follow your cursor. Simply release the mouser button to place the door in it’s new location.
If this method does not work for you it is probably because you have the “Move by dragging” option toggled off. Take a look at the bottom right hand side of the Revit…


