In this Autodesk Revit tutorial I am going to explain the use of the “Rotate” tool. If you’d like to watch the video version of this tutorial, you can do so by clicking in the window below…..
[youtube https://www.youtube.com/watch?v=7PURr-Umnxg?feature=oembed&w=720&h=405]
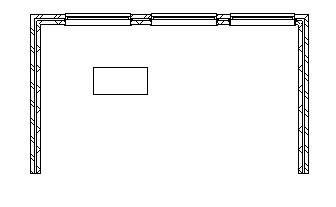
In order to demonstrate the Rotate tool we need some things to rotate! In the image below you can see that we have a very simple model- 3 wall instances, 3 window instances and 1 desk. That’s all we need to work with……
So let’s go ahead and rotate something. We’ll start with the desk first. Select the desk. Now select “Rotate” from the “Modify / Furniture” panel…..
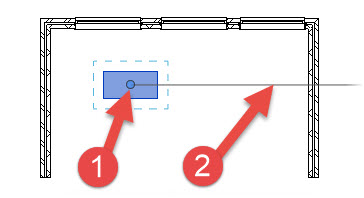
Now that we have selected an object for rotation, let’s just take a second to look at the object itself…..
I want you to note 2 things (with reference to the image above):-
- The Pivot point (or centre of rotation): This will be the point at the centre of rotation, regardless ofd the angle you rotate it by. This point can be “anywhere”…


