In this Autodesk Revit tutorial we are going to take a look at Placing your Views onto Sheets. If you’d like to watch the video version of this tutorial first, simply click in the box below….
[youtube https://www.youtube.com/watch?v=ap_99do3Pdo?feature=oembed&w=720&h=405]
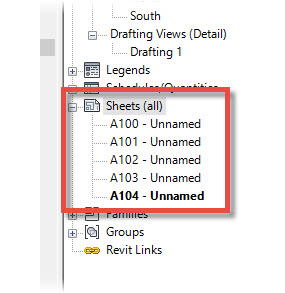
At some point during the project, you are going to want to start composing your Sheets in readiness for printing. So far you have been preoccupied with creating “Views”. These individual views need to be placed onto a Revit Sheet- which is made from a Revit “Titleblock” family. The list of Sheets in your project can be found towards the base of the Project Browser….
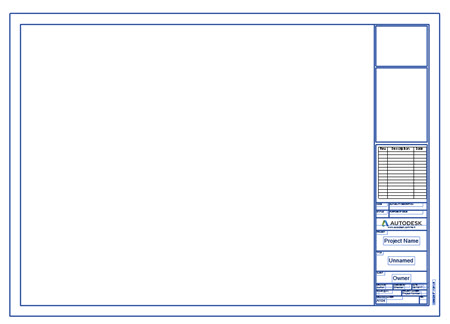
Double-click on a Sheet name to open it and make it active. The image below shows the default Autodesk Titleblock….
There are two ways to place your views onto Sheets. I’ll show you both methods- but I warn you now, the second method is MUCH quicker. Switch to the “View” menu (1, below) and then choose “View” (2, below)….
This…


