In this Autodesk Revit tutorial we are going to take a look at Printing your Views and Sheets. If you’d like to watch the video version of this tutorial first, simply click in the box below….
[youtube https://www.youtube.com/watch?v=7_mDYwPR78Y?feature=oembed&w=720&h=405]
Once you have composed your Sheets by placing Views onto them, it is time to print them. This is the easiest part! If you are coming to Revit from AutoCAD, I don’t need to tell you about scaling ViewPorts, LineType Scale, PlotStyle Tables., etc. Forget all that! There is none of that nonsense with Revit. What you see on screen is what you’re going to get when it is printed.
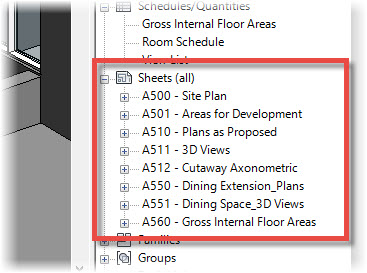
Check you Sheet List in the Project Browser to ensure you have all you Sheets ready for printing….
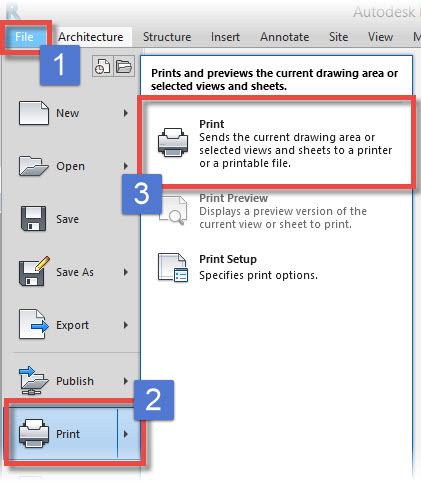
Switch to the “File” menu (1, below), choose “Print” from the bottom of the menu (2 / 3, below)….
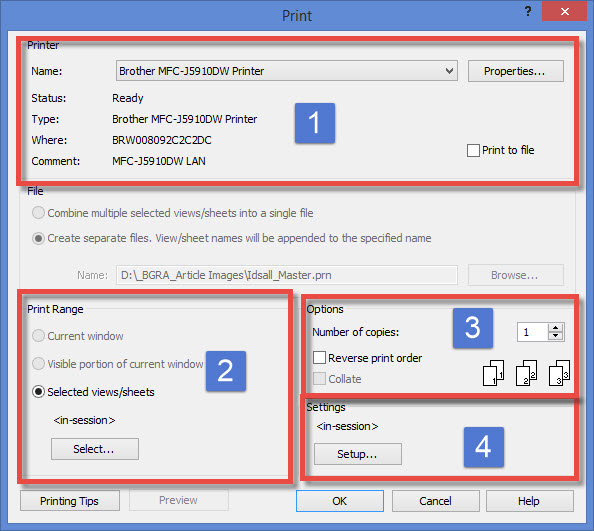
The “Print” dialogue box opens. The panel is split into 4 main areas- I’ll take you through these now…
- Printer Setup:…


