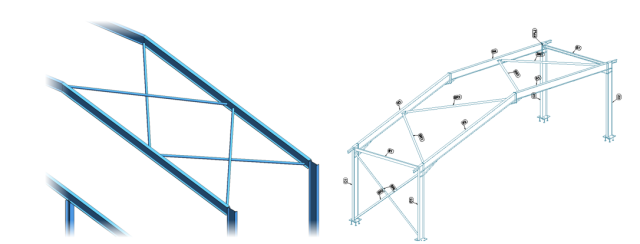
In part 1 of this tutorial we looked at the creation of vertical bracing systems using Revit 2019, in this part we will focus on roof bracing systems in Revit 2019.

Roof bracing tends to get a little more complex than vertical bracing due to compound angles and complex connection configurations. Revit has some good tools to make the placement of roof bracing easier. We will also cover some tips and tricks for the representation of bracing in plan.
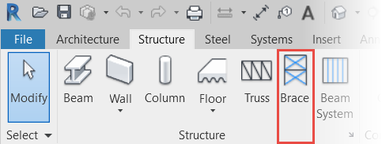
As mentioned in the part 1 of the tutorial, you should always use the dedicated brace tool rather than the beam command as shown below.

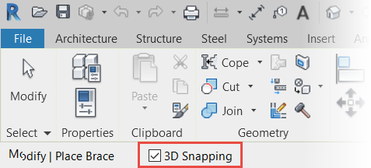
It is easier to add the roof bracing in a 3D view. It is very important to ensure that you have the 3D snapping option checked on the options bar as indicated below.

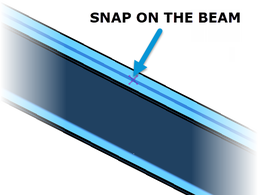
You can then roughly sketch your bracing configuration by snapping to the top of each rafter as shown below. Don’t worry about getting the exact position, this will be set in a later step. Do not snap to the column.

The bracing will…

