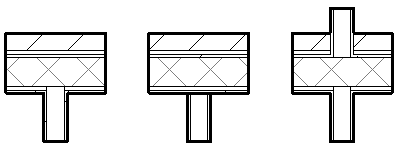
Wall joins is one of the most traumatic feature of Revit. You need a lot of patience not to get triggered by the bizarre, diagonal, odd-shaped default joins that Revit will propose to you by default. Don’t worry, we got you covered.
1- DISALLOW JOIN AND DRAG BOUNDARY POINT TO CREATE LINE BETWEEN 2 WALLS
A common issue among Revit beginners is the unability to properly control if a line will display between 2 walls. By default, all walls created in Revit are joined together. In some cases, you want to see a line between two walls, especially in a case where an interior wall is joined with an exterior wall.
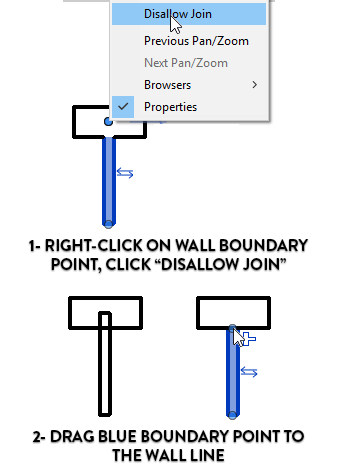
There is 3 ways to fix this issue. The first one is to right-click the blue boundary point of the wall and click on “Disallow Join”. The next step is to drag the boundary point to the limit of the wall.


