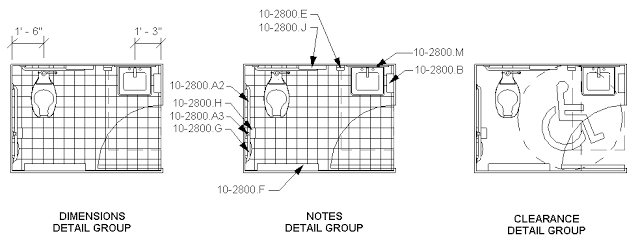
A month or two ago I wrote a blog about space groups. In that article I began to talk about having detail groups embedded within a space group, but i didn’t show you haw to create the space or detail groups. Well in this blog I will.
To create a space group first start from a project file. In the project file you model the space you want to create a space group of. Once you have the space modeled select all of the objects that make up the space then click the Group button on the Modify tab.
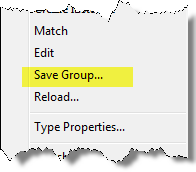
For a Space group that is going to be used in a source file you will want to pull the group out of the project and to do that you will need to export the group out of the current project. To export the group out all you need to do is scroll down to the bottom of the project browser where the Groups are located and right click over the group you want to export and select Save Group. When you export a group out of a project you are actually creating another Revit Project.
NOTE;this Revit Project only has the information that you selected to export, which means any setting or standard components that you have in your project template will be missing.
Once you have exported the space group to it’s own project you will want to open that project up. When you open the project you will notice that the detail group you may have had in the Space group is now missing from the list of groups in this project. What you will notice is that there is a view with the same name as the missing detail group. If you open that view all of the detail objects that were in the detail group are in this view.
I created a Video explaining this process check it out
[youtube https://www.youtube.com/watch?v=NNuBuewP9zg]
Read more


Leave a Comment
You must be logged in to post a comment.